HISTORY DETAILS
Having received a report that the Satomi force had captured Konodai Castle, Hojo Ujiyasu summoned his retainers and ordered the advance to Konodai. Although the Hojo army was more than double the strength of Satomi Yoshihiro's army, many men were lost in the initial fight as they attempted to cross the Ichikawa. But soon, by the sheer weight of numbers, the Hojo army was able to cross and gained the enemy flank. During the Satomi withdrawal Ota Sukemasa was wounded twice. The first day's action had gone somewhat well for the Hojo army.
The stage is set, the battle lines are drawn, and you are in command. Can you change history?
Note: There are varying accounts for this battle. Basically, the other version is that a Hojo advance force crossed the river, pursued the retreating Satomi troops into an ambush and retreated back across the river with loss. We chose to pursue a more evenly matched version for this scenario.

 |
 |
 |
 |
| 6 | 7 | 10 | 4 |
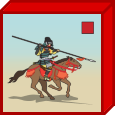
Satomi Samurai Army (Red)
Move First


 |
 |
 |
 |
 |
 |
 |
| 4 | 2 | 1 | 1 | 1 | 2 | 1 |
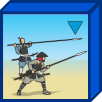
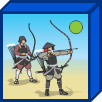
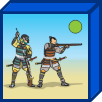
Hojo Samurai Army (Blue)
Command Cards 6
Dragon Cards 2
Honour 6
 |
 |
 |
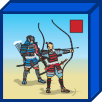 |
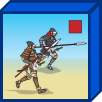 |
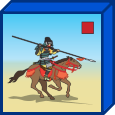 |
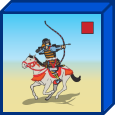 |
 |
 |
| 6 | 2 | 1 | 2 | 2 | 2 | 1 | 2 | 2 |
Victory
5 Banners
* 1 Victory Banner for each unit or leader eliminated.
* The Hojo player will gain 1 Victory Banner at the start of each Hojo player's turn, when there are no Satomi units in a section of the battlefield. Hexes with a dotted line in this case are considered center section hexes.
Special Rules
* The entire Ichikawa River is fordable.
