HISTORY DETAILS
Catching the Hojo totally unprepared, the Takeda invasion was swift and the Hojo base at Odawarra was surrounded. The enemy, however, refused to fight outside the fortress and Takeda Shingen, not ready for a siege, ordered a retreat. Hojo Ujikunia was very aware that Shingen would have to retire through the Mimase pass and prepared an ambush. Shingen found out about the enemy plans and divided his army and moved to attack the Hojo Commanders. The Hojo vanguard was hit in the flank by the fierce Takeda attack and the rest of the Hojo army could not recover, enabling the Takeda army to continue its withdrawal.
The stage is set, the battle lines are drawn, and you are in command. Can you change history?

 |
 |
| 8 | 10 |
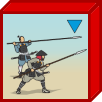
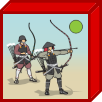
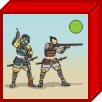
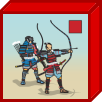
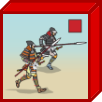
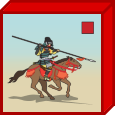
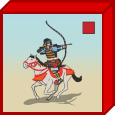
Hojo Samurai Army (Red)


 |
 |
 |
 |
 |
 |
 |
 |
| 6 | 2 | 1 | 1 | 2 | 2 | 2 | 2 |
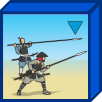
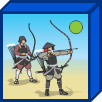
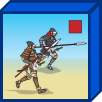
Takeda Samurai Army (Blue)
Move First


 |
 |
 |
 |
 |
 |
 |
| 4 | 1 | 1 | 2 | 2 | 3 | 3 |
Victory
5 Banners
* 1 Victory Banner for each unit or leader eliminated.
Special Rules
* None
